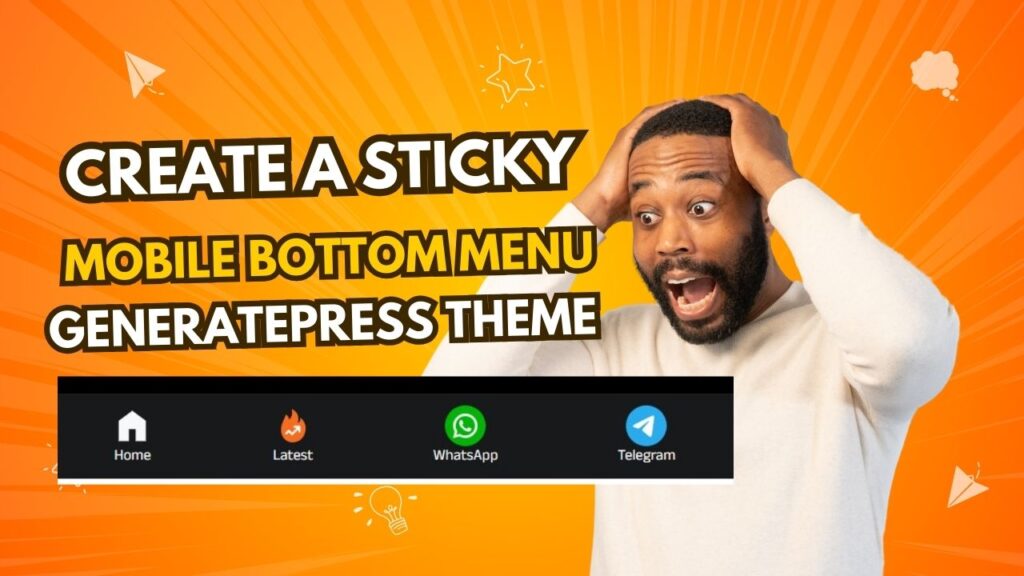
आप को इस लेख में Create a Sticky Mobile Bottom Menu in GeneratePress Theme के बारे में हम विस्तार से बताया गया है। आप इस पोस्ट को देख सकते है।
In this tutorial, I’ll demonstrate how to build an attractive sticky footer menu for mobile devices using the GeneratePress theme. We will utilize the Generate Blocks plugin to create this custom sticky menu.
A sticky mobile footer menu is designed to appear exclusively on mobile devices, offering users quick and easy access to essential navigation items. This type of menu is commonly seen on major e-commerce sites like Flipkart and Amazon, enhancing user convenience. If you want to implement a similar sticky footer menu on your website, follow the steps outlined in this tutorial.

जाने क्या है इस आर्टिकल में?
Create a Sticky Mobile Bottom Menu in GeneratePress Theme

Step 1: Install and Activate GeneratePress Theme
सुनिश्चित करें कि आपके पास अपनी वर्डप्रेस साइट पर इंस्टॉल और सक्रिय है। GenatePress हल्के, अनुकूलन योग्य और उत्तरदायी डिजाइन बनाने के लिए एकदम सही है।
Read Also: Create Footer Without Plugin in GeneratePress Theme
Step 2: Create a Custom Menu
- Go to Appearance > Menus in your WordPress dashboard.
- Click on Create a New Menu and name it (e.g., “Mobile Bottom Menu”).
- Add the desired menu items, such as Home, Categories, Contact, etc.
- Save the menu.
Step 3: Add Menu to Mobile Navigation
- Go to Appearance > Customize.
- Navigate to Layout > Primary Navigation.
- Select the newly created menu for the mobile display.
- Save your changes.
Step 4: Add Custom Code for Sticky Menu
मोबाइल स्क्रीन के नीचे menu sticky बनाने Menu, custom CSS and JavaScript जोड़ें।
Adding Custom CSS
- Go to Appearance > Customize > Additional CSS.
- Insert the following code:
@media (max-width: 768px) {
  .mobile-bottom-menu {
    position: fixed;
    bottom: 0;
    width: 100%;
    background-color: #fff;
    box-shadow: 0 -2px 5px rgba(0, 0, 0, 0.1);
    z-index: 9999;
  }
  .mobile-bottom-menu ul {
    display: flex;
    justify-content: space-around;
    padding: 10px 0;
    margin: 0;
  }
  .mobile-bottom-menu li {
    list-style: none;
  }
  .mobile-bottom-menu a {
    text-decoration: none;
    font-size: 16px;
    color: #333;
  }
}- Publish the CSS changes.
Adding JavaScript (Optional)
If you need additional interactivity, you can add JavaScript:
- Code Snippets plugin इंस्टॉल करें या कोड को सीधे अपने थीम के
functions.phpfile में जोड़ें। - Use the following snippet:
document.addEventListener('DOMContentLoaded', function() {
  const menu = document.querySelector('.mobile-bottom-menu');
  if (menu) {
    menu.classList.add('sticky-menu');
  }
});
Step 5: Test Your Sticky Bottom Menu
- मोबाइल डिवाइस पर अपनी वेबसाइट खोलें या अपने ब्राउज़र के डेवलपर टूल में उत्तरदायी मोड का उपयोग करें।
- सत्यापित करें कि मेनू स्क्रीन के निचले भाग में रहता है जैसे आप स्क्रॉल करते हैं।
- सुनिश्चित करें कि सभी लिंक क्लिक करने योग्य हैं और मेनू आइटम ठीक से प्रदर्शित होते हैं।
